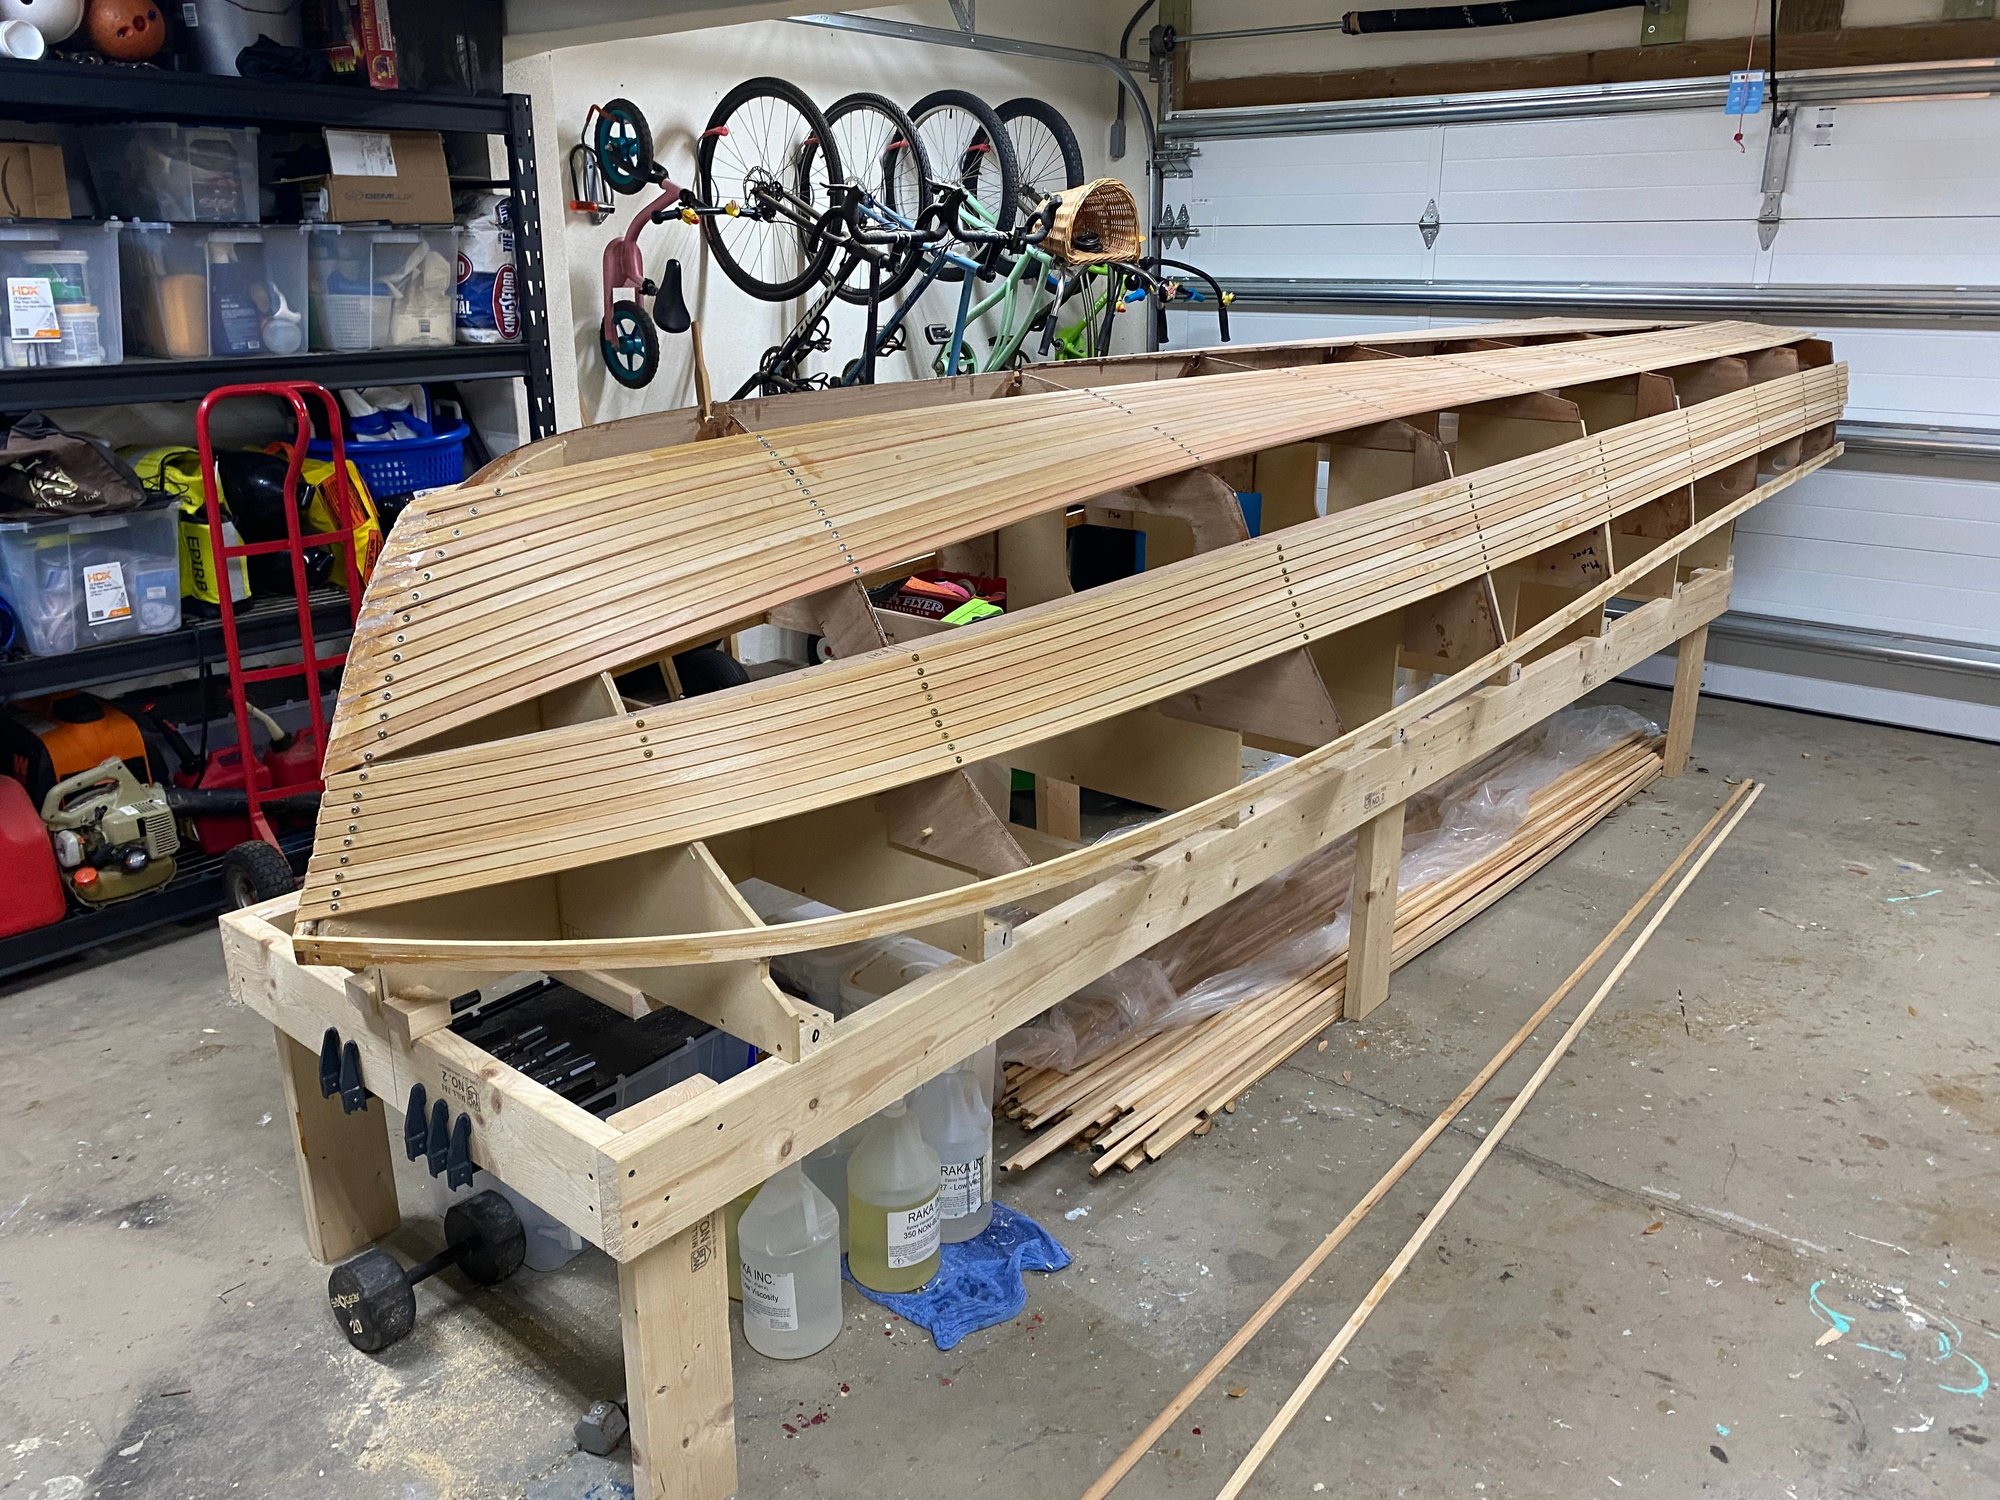
Building a Skiff Hull: A Comprehensive Guide
Constructing a skiff hull from scratch can be a rewarding and challenging endeavor. This comprehensive guide will provide you with a detailed roadmap to build a durable and seaworthy skiff hull, utilizing easy-to-follow plans and accessible techniques. Whether you are a seasoned boatbuilder or a novice with a passion for DIY, this article will equip you with the knowledge and confidence to embark on your own skiff-building journey.
Choosing the Right Skiff Design
The first step in building a skiff hull is selecting a suitable design. Skiffs come in various shapes and sizes, each tailored to specific purposes. Carefully consider your intended use, the size of your boat, and your desired performance characteristics.
Factors to Consider
- Intended Use: Will your skiff be used for fishing, recreational paddling, or other activities?
- Size: Determine the appropriate length and beam (width) based on your needs and available space.
- Performance: Consider your desired speed, stability, and maneuverability.
- Materials: Skiff hulls can be constructed using various materials, including plywood, fiberglass, and aluminum. Choose the option that best suits your skill level and budget.
Once you have a clear understanding of your requirements, you can research and select a skiff design that aligns with your preferences. Many excellent free and paid plans are available online and through boatbuilding resources.
Gathering Materials and Tools
After choosing your design, it's time to gather the necessary materials and tools. The specific materials will vary depending on the plan, but a typical skiff hull will require:
- Plywood: Marine-grade plywood is essential for structural integrity. Choose a thickness appropriate for the design and intended use.
- Epoxy Resin and Hardener: Epoxy provides superior strength and water resistance compared to traditional wood glue.
- Fiberglass Cloth: Fiberglass cloth is used to reinforce the plywood and create a durable, waterproof shell.
- Wood Filler: Wood filler is used to smooth out imperfections and create a seamless surface for fiberglassing.
- Paint: Choose a marine-grade paint to protect the hull from the elements.
- Fasteners: Screws, nails, and other fasteners will be needed for assembly.
- Other Supplies: These may include sanding paper, masking tape, brushes, rollers, and gloves.
As for tools, you will need the following:
- Power Tools: A jigsaw, circular saw, drill, and sander will be helpful for cutting and shaping the wood.
- Hand Tools: A hammer, clamps, measuring tape, and various hand saws are essential for precise work.
- Safety Equipment: Always wear safety glasses, gloves, and a respirator mask when working with wood, epoxy, and fiberglass.
Building the Hull: Step-by-Step Instructions
With your materials and tools ready, you can begin building the skiff hull. The following steps provide a general framework for building a typical plywood skiff:
Step 1: Cutting the Plywood Panels
Start by cutting the plywood panels according to the plans. This step requires precision to ensure proper fit and alignment. Use a jigsaw or circular saw to cut the panels to size. Take your time and double-check measurements before making each cut.
Step 2: Assembling the Hull Frames
The frames of the hull provide structural support. Use epoxy and screws or nails to assemble the frames according to the plans. Ensure that each frame is square and aligned.
Step 3: Attaching the Planking
Once the frames are assembled, you can begin attaching the planking. This involves attaching the plywood panels to the frames to form the hull's outer shell. Start at the keel (bottom) and work your way up. Ensure that each plank is properly aligned and secured with epoxy and screws.
Step 4: Filling and Fairing
After attaching the planking, fill any gaps or imperfections with wood filler. Once the filler has dried, sand the surface smooth. This step is crucial for creating a seamless surface for fiberglassing.
Step 5: Applying Fiberglass Cloth
Fiberglass cloth is used to reinforce the plywood hull and create a durable, waterproof shell. Apply layers of fiberglass cloth to the entire hull using epoxy resin. Each layer should overlap slightly to create a strong bond.
Step 6: Finishing Touches
Once the fiberglass has cured, sand the surface smooth and prepare it for painting. Apply several coats of marine-grade paint to protect the hull from the elements. You can also add additional features like a rub rail, cleats, and other hardware as needed.
Finishing the Skiff
After building the hull, you will need to add finishing touches to complete the skiff. This includes:
- Installing the Deck: The deck provides a platform for passengers and gear. Build the deck using plywood and fiberglass, similar to the hull construction.
- Adding Seating: Install comfortable and secure seating for passengers and the operator.
- Installing Hardware: This includes adding essential hardware like cleats, oars, and a motor mount (if applicable).
- Final Touches: Paint the deck, add non-skid surfaces for safety, and install any other desired accessories.
Safety Tips
Building a skiff can be a rewarding experience, but safety is paramount. Always follow these safety tips:
- Use Proper Tools: Ensure that your tools are in good condition and used as intended.
- Wear Safety Gear: Always wear safety glasses, gloves, and a respirator mask when working with wood, epoxy, and fiberglass.
- Work in a Well-Ventilated Area: Epoxy and fiberglass fumes can be harmful. Work in a well-ventilated area, and avoid inhaling the fumes.
- Follow Instructions Carefully: Carefully read and follow the instructions for all materials and tools used.
Conclusion
Building a skiff hull from scratch is a journey that combines craftsmanship, patience, and attention to detail. By following the steps outlined in this comprehensive guide and prioritizing safety, you can create a sturdy and seaworthy skiff that will provide countless hours of enjoyment on the water.
0 comments:
Post a Comment